
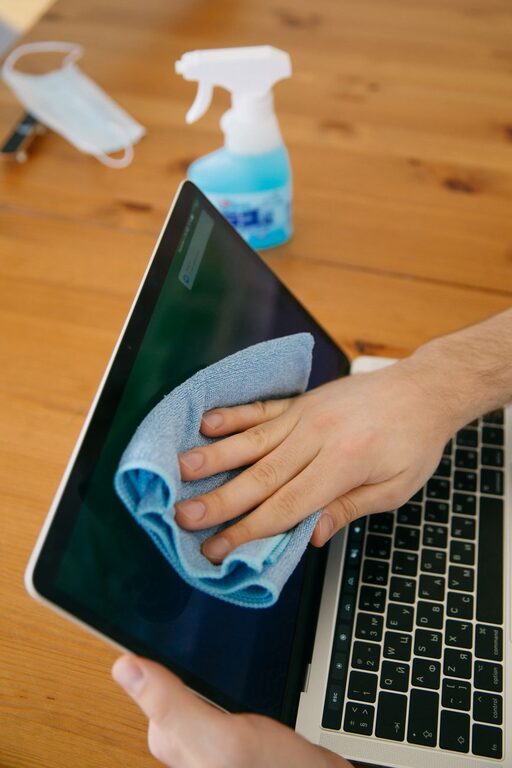
Keeping your phone and keyboard clean helps remove dust, fingerprints, crumbs, and everyday grime. These devices are handled often, but they contain sensitive screens, ports, switches, and electronic parts that can be damaged by too much moisture or the wrong cleaning product.
The good news is that safe cleaning does not require much equipment. With a few basic supplies and the right technique, you can clean both devices regularly while protecting their surfaces and internal components.
Gather the Right Supplies
Before you begin, prepare a small cleaning kit. Useful items include:
– A clean microfiber cloth
– Cotton swabs
– A soft, dry brush
– 70% isopropyl alcohol
– Plain water
– A small bowl or spray bottle for dampening the cloth
– Compressed air for hard-to-reach areas
– Disposable gloves, if preferred
Avoid paper towels, tissues, rough cloths, bleach, window cleaner, household disinfectant sprays, and abrasive cleaners. These products may scratch surfaces, leave residue, or damage protective coatings.
Always check the manufacturer’s care instructions before using any liquid or alcohol-based product. Some devices have special finishes that require different cleaning methods.
Before You Start
Turn off the phone and unplug the keyboard before cleaning. If possible, disconnect a wireless keyboard or remove its batteries. This reduces the risk of accidental inputs, electrical problems, and damage caused by moisture.
Remove phone cases, keyboard wrist rests, and other accessories. Clean these items separately so dirt does not transfer back onto the device.
Choose a clean, dry, well-lit area. Avoid cleaning over carpets or cluttered surfaces where small parts could be lost.
How to Clean Your Phone Safely
1. Remove Loose Dust
Start with the phone turned off and disconnected from any charger. Use a dry microfiber cloth to gently wipe the screen, back, and sides.
For dust around buttons, camera edges, and the speaker grille, use a soft, dry brush. Brush gently rather than pressing dirt farther into openings.
Do not use sharp tools, pins, or paper clips to clean the charging port or speaker openings. These can scratch contacts, damage protective screens, or push debris deeper into the phone.
2. Wipe the Screen and Exterior
If a dry cloth is not enough, lightly dampen one corner of a microfiber cloth with plain water or an appropriate cleaning solution. The cloth should be damp, not wet.
Never spray liquid directly onto the phone. Liquid can seep into the charging port, speaker, microphone, buttons, or seams.
Wipe the surface gently in one direction or with small circular motions. Pay attention to areas that collect fingerprints, such as the edges and the back of the phone. Use a dry part of the cloth to remove any remaining moisture.
For many phones, a solution containing about 70% isopropyl alcohol can be used sparingly on exterior surfaces. Apply it to the cloth, not the phone, and avoid soaking the surface. Do not use alcohol on areas where the manufacturer advises against it.
3. Clean the Camera Lenses
Camera lenses can collect fingerprints that make photos look blurry. Use a clean, dry microfiber cloth and wipe the lens gently.
Avoid using rough fabric or applying strong pressure. If the lens has stubborn marks, slightly dampen a small section of the cloth and wipe carefully. Finish with a dry section to prevent streaks.
4. Clean the Charging Port Carefully
Hold the phone with the port facing downward. Use a soft, dry brush to loosen visible dust. A short burst of compressed air may also help, but keep the nozzle at a distance and use low pressure.
Do not insert metal objects, wooden picks, or wet cotton swabs into the port. Do not pour or spray cleaner into it. If debris is packed tightly inside, professional cleaning may be safer than trying to remove it forcefully.
Make sure the port is completely dry before reconnecting a charger.
How to Clean a Keyboard Safely
Keyboards need a slightly different approach because crumbs and dust can fall between the keys.
1. Disconnect and Turn It Over
Unplug the keyboard or turn off the wireless connection and remove its batteries. Hold it upside down over a wastebasket and gently shake or tap the back.
Use light movements. Hitting the keyboard against a hard surface can damage the case or key mechanisms.
2. Remove Dust and Crumbs
Use a soft brush to sweep between the keys. A can of compressed air can help with loose debris. Hold the keyboard at an angle and use short bursts rather than a continuous stream.
Keep the can upright and follow the product directions. Tilting some cans can release liquid propellant, which may damage surfaces.
For a laptop keyboard, avoid pressing debris farther into the computer. Use gentle brushing and short air bursts. If a large amount of liquid or debris has entered the laptop, stop using it and follow the manufacturer’s service guidance.
3. Wipe the Keys
Dampen a microfiber cloth very lightly with water or 70% isopropyl alcohol. Wipe the tops and sides of the keys, as well as the keyboard frame.
The cloth should never be dripping. Do not spray cleaner directly onto the keys. Moisture can travel underneath them and reach the electronics.
For narrow spaces, use a cotton swab that is only slightly damp. Replace it when it becomes dirty, and avoid leaving fibers behind.
If a key feels sticky, wipe around it several times instead of prying it off. Some keycaps can be removed on mechanical keyboards, but laptop keys and low-profile keys are easier to break. Remove keycaps only if the manufacturer provides instructions or the keyboard is designed for it.
What to Do About Spills
If liquid spills on a keyboard, disconnect it immediately. For a wireless model, remove the batteries. Turn it upside down and allow it to drain.
Do not reconnect or turn it on to test it while moisture may still be inside. Let it dry fully in a well-ventilated area, following the manufacturer’s guidance. Avoid using a hair dryer, heater, or direct sunlight because high heat can warp plastic and damage components.
For a phone, disconnect the charger, remove the case, and wipe away surface moisture. Do not charge the phone while the port is wet. Never bury the device in rice, as small particles can enter openings and the method does not reliably remove internal moisture.
How Often Should You Clean?
A light wipe once or twice a week can keep fingerprints and surface dirt under control. Clean more often if you share a keyboard, eat while using it, or frequently use your phone outdoors.
A quick routine is usually enough:
- Turn off or disconnect the device.
- Remove loose dust with a dry cloth or soft brush.
- Wipe surfaces with a lightly damp microfiber cloth.
- Clean around openings without inserting objects.
- Allow everything to dry before use.
Final Safety Checklist
Before finishing, remember these basic rules:
– Turn devices off and unplug them first.
– Use as little moisture as possible.
– Apply cleaner to a cloth, never directly to the device.
– Avoid bleach, abrasive products, and harsh household sprays.
– Keep liquid away from ports, speakers, and seams.
– Do not use sharp tools inside openings.
– Follow the manufacturer’s instructions.
– Let devices dry completely before reconnecting them.
Careful, regular cleaning can keep your phone and keyboard looking better and working reliably. A gentle touch is more important than using a strong cleaner or scrubbing hard.